Solar Panel Installation Pakistan: A 2026 Step-by-Step Rooftop Guide
Getting solar panel installation Pakistan right is far more than bolting modules onto a roof. A clean install decides how much electricity you harvest, how safely your system runs during a Lahore summer, and whether your payback lands in four years or eight. In 2026, with grid tariffs still climbing and net metering now routine, understanding the actual installation workflow helps you ask the right questions and avoid costly rework.
This guide walks through the real sequence a Pakistani household or business goes through, from the first rooftop survey to the day your meter starts spinning backward.
Why Installation Quality Decides Your Solar ROI
Two homes can buy the exact same panels and inverter, yet one produces 15% more energy over a year. The difference is almost always workmanship: tilt angle, shading, cable runs, and earthing.
Pakistan sits in a high-irradiance belt. Most cities receive 5.3 to 5.7 peak sun hours daily, among the best solar resources in the world. A sloppy install throws that advantage away through hotspots, loose MC4 connectors, and undersized DC cable that bleeds voltage.
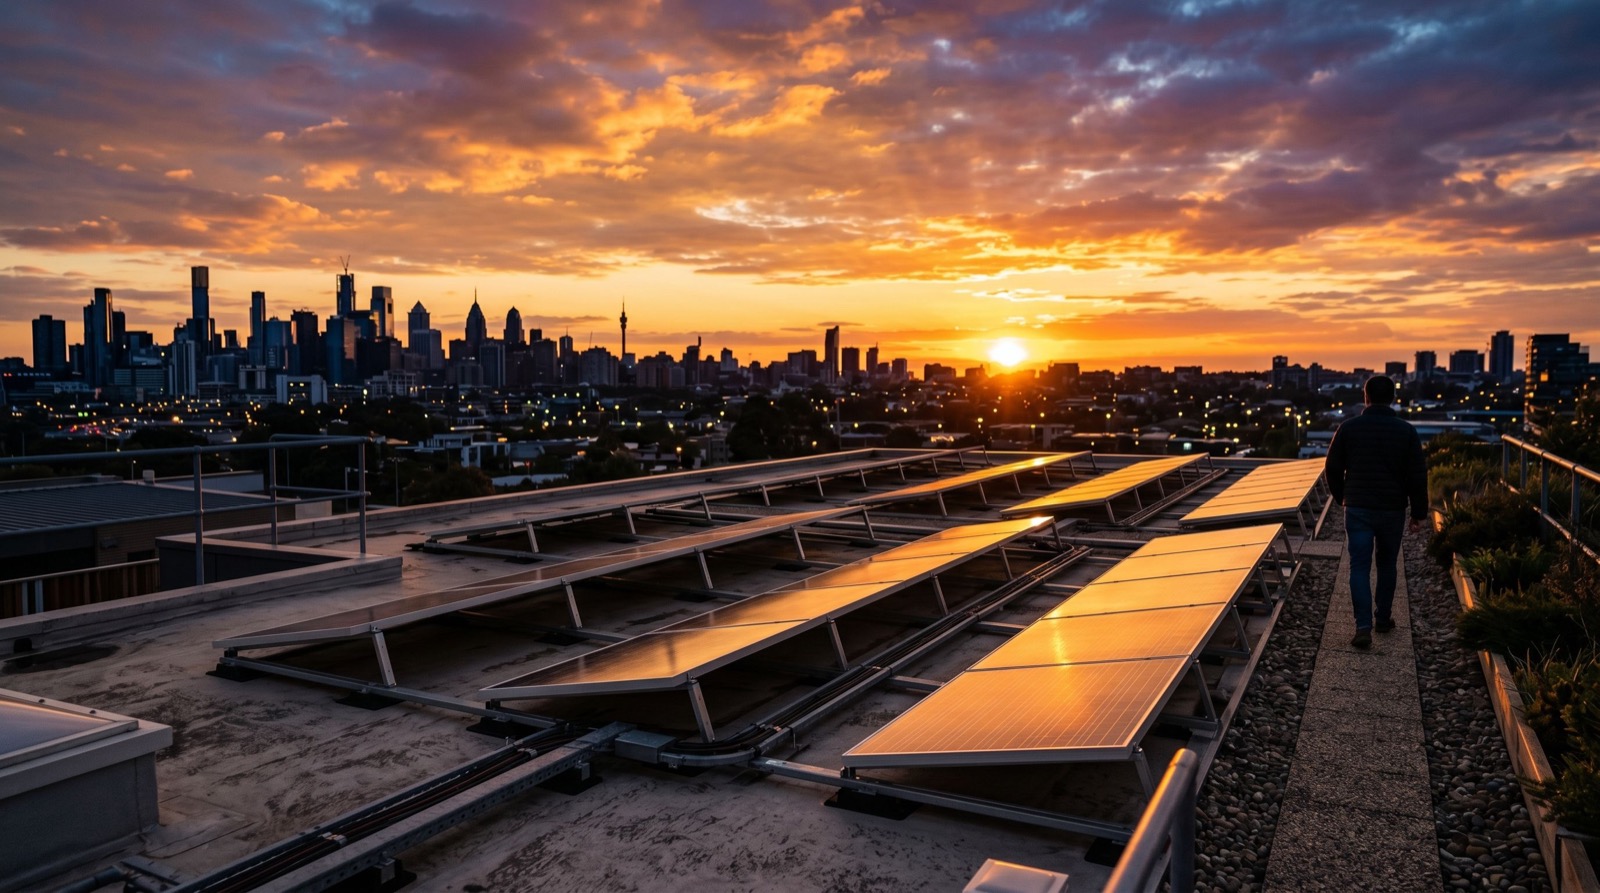
- Orientation: True south generally wins in Pakistan; small east or west splits suit load profiles that peak morning or evening.
- Tilt: A fixed tilt near your latitude (roughly 25–33 degrees) balances summer and winter yield.
- Ventilation: A gap under the modules keeps cells cooler, and cooler cells produce more watts.
The Solar Panel Installation Pakistan Workflow, Step by Step
A professional crew follows a repeatable process. Knowing each stage lets you spot shortcuts before they become problems.
1. Site Survey and Shading Analysis
Engineers measure usable roof area, check structural load capacity, and map shading from water tanks, parapet walls, and neighbouring buildings across the day. Even a slim shadow on one module can drag down a whole string.
2. System Sizing and Design
Your last 12 electricity bills drive the sizing. The team converts annual units into a kilowatt figure, then selects panel count, inverter rating, and string layout. Quality installers share a single-line diagram so you see exactly how power flows.
3. Procurement and Delivery
Once the design is approved, components arrive on site. This is the moment to verify serial numbers, datasheet ratings, and warranty cards. Buying genuine, tier-one solar panels in Pakistan protects you from counterfeit modules that degrade fast in our heat.
4. Mounting Structure
Galvanised or aluminium rails are anchored to the roof. On concrete, crews use chemical anchors and waterproof the penetrations. On a tin roof, specialised clamps avoid leaks. The structure must survive gusts well above 120 km/h.
5. Electrical Wiring and Earthing
DC strings connect to the inverter, AC output ties into your distribution board, and the whole array is earthed with a dedicated rod. Proper earthing and surge protection are non-negotiable during monsoon lightning season.
6. Commissioning and Testing
The team powers up, checks string voltages, confirms the inverter syncs with the grid, and logs baseline generation. You should receive a commissioning report.
How Long Does Installation Take?
Timelines surprise many first-time buyers. The physical work is quick; the paperwork is slower.
| Stage | Typical Duration | Who Handles It |
|---|---|---|
| Survey and design | 2–4 days | Installer |
| Physical installation (5–10 kW) | 1–3 days | Installer crew |
| Net metering application | 4–8 weeks | DISCO + installer |
| Bidirectional meter fitting | 1 day | DISCO |
Net metering is where patience pays. Your distribution company reviews the application, inspects the site, and swaps in a bidirectional meter. Policy and tariff details are published by the National Electric Power Regulatory Authority (NEPRA), so confirm the current buy-back rate before signing.
Choosing the Right Installer
The hardware matters, but the crew matters more. Work only with trusted professionals who document every stage and stand behind their workmanship warranty.
- Ask for AEDB-registered or vetted engineers on the physical crew.
- Demand a written scope: components, ratings, warranty, and after-sales visits.
- Check past rooftop references in your city, ideally the same roof type as yours.
- Confirm they manage the full net metering file, not just the hardware.
The Alternative Energy Development Board publishes installer and policy guidance worth reviewing; see the AEDB net metering resources before you commit.
Red Flags to Avoid
- No site visit before quoting a price.
- Prices far below market, usually meaning fake panels or thin cable.
- No single-line diagram or commissioning report.
- Vague answers about earthing and surge protection.
Roof Types and Their Installation Challenges
Pakistani homes and businesses sit under very different roofs, and each one shapes how the array is mounted. A good installer adapts the method rather than forcing one approach everywhere.
- Reinforced concrete (RCC): The most common and the most forgiving. Crews use ballasted or anchored frames and seal every penetration against monsoon rain.
- Corrugated metal sheets: Popular on warehouses and workshops. Specialised clamps grip the ridges so no new holes pierce the sheet.
- Clay or tiled roofs: Less common but delicate. Tiles must be lifted and hooks fixed to the rafters below to avoid cracking.
- Ground mounts: Ideal for farms and large plots with spare land, giving perfect tilt and easy cleaning access.
Flat urban rooftops also double as living space in many cities, so a smart layout leaves walking paths and keeps the array off water tanks and stair blocks. Discuss roof usage with your installer early, because moving panels later is expensive and risks new leaks.
Safety During and After Installation
Working with live DC voltage and rooftop heights demands trained crews, harnesses, and proper isolation switches. Insist that the installer fits a clearly labelled DC isolator and AC breaker so the system can be shut down safely for cleaning or repairs. These small details separate a professional job from a risky one.
Maintenance After Installation
Solar is low-maintenance, not no-maintenance. Dust is the biggest yield thief in Pakistan, especially in Multan, Faisalabad, and interior Sindh.
- Rinse panels every 2–4 weeks in dusty seasons.
- Inspect connectors and mounting bolts twice a year.
- Monitor daily generation through the inverter app and investigate sudden drops.
- Keep vegetation and new construction from casting fresh shadows.
Frequently Asked Questions
Is my roof strong enough for solar panels?
Most concrete roofs easily carry the load, which is roughly 15–20 kg per square metre including the mounting structure. A proper survey confirms this before any work begins, and weak sections can be reinforced.
How much roof space do I need per kilowatt?
Plan for about 80–100 square feet of shade-free roof per kilowatt with modern high-wattage modules. A typical 5 kW home system needs roughly 450–500 square feet.
Can I add more panels later?
Yes, if the installer sizes your inverter and wiring with headroom. Tell them about future plans, such as an EV or a new floor, so the design leaves room to expand.
Do I need battery backup with a grid-tied system?
Not for savings alone. Net metering lets the grid act as your virtual battery. Add batteries only if you want power during load shedding or live where the grid is unreliable.
Conclusion
A great outcome starts with a disciplined process, not just good panels. When your solar panel installation Pakistan project follows a proper survey, clean electrical work, and a managed net metering file, you lock in decades of lower bills. Choose a documented, experienced installer in 2026, insist on genuine components, and your rooftop will quietly pay you back every sunny day. Ready to begin? Book a professional rooftop survey and get a transparent, itemised quote before you spend a single rupee.